Starting the IDE
The Visual PL/B Setup program creates a new program group on the desktop and new program items for Visual PL/B in Windows. You are then ready to start Visual PL/B from Windows.
To start PL/B IDE Studio from Windows
1. Double-Click the Sunbelt folder that was created on the desktop during the setup process.
2. Double-Click the Visual PLB folder. The folder name will also contain the software version number such as "Visual PLB 10.3"
3. Click the link named "PLB IDE". If you are using the .NET version of the PL/B runtime, click "PLB .Net IDE".
You can also create a shortcut to Visual PL/B, and double-click the shortcut. The command line parameters are:
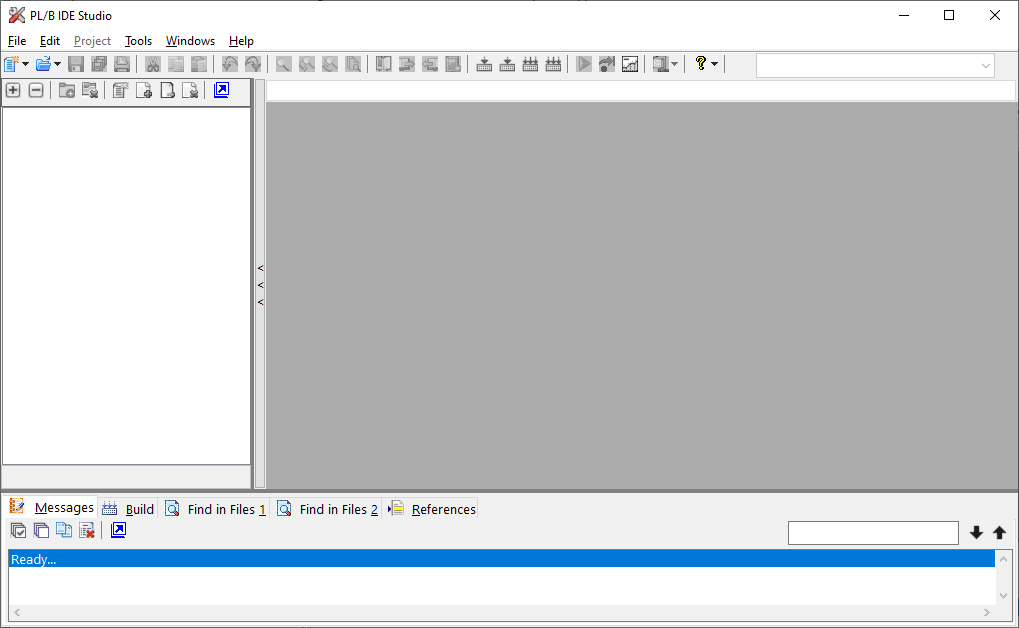
When you first start Visual PL/B, you see the interface of the integrated development environment as shown below:
Across the top of the IDE you will find a menu and toolbar that provide access to the various IDE functions. Alongside the toolbar is a program lables quick selection list. On the left side of the window is a section that shows a project file tree. The gray area on the right is home for the source editor. At the bottom of the page is a tabbed output area where infomational message are displayed.
To exit the IDE, click the "X" in the upper right corner or choose "Exit" from the "File" menu.


 |