
Using Git Version Control
10.6
The Visual PL/B IDE Studio supports version control by interfacing with the open source Git utility. Version Control is a system that records changes to a file or set of files over time so that you can recall specific versions later if necessary. Documentation of the Git utility is available from https://git-scm.com.
Git Installation and SunIDE Configuration
1. Before using the Git support in the Sunbelt IDE, the Git utility must first be installed. The Windows version of the software may be download and installed from https://git-scm.com/download/win and the installation is quite simple.
2. Once installed, open your existing SunIDE project and select the "Changes" or "History" tab in the Project Window:
The panel message indicates the installation of Git was successful and Git functions are now available within SunIDE.
3. Click the Options item in the Tools menu and select the Version Control tab to expose the Git options.
4. Click the "Enable Git Version Control" checkbox to activate version control and the IDE will enable and initialize the various options:
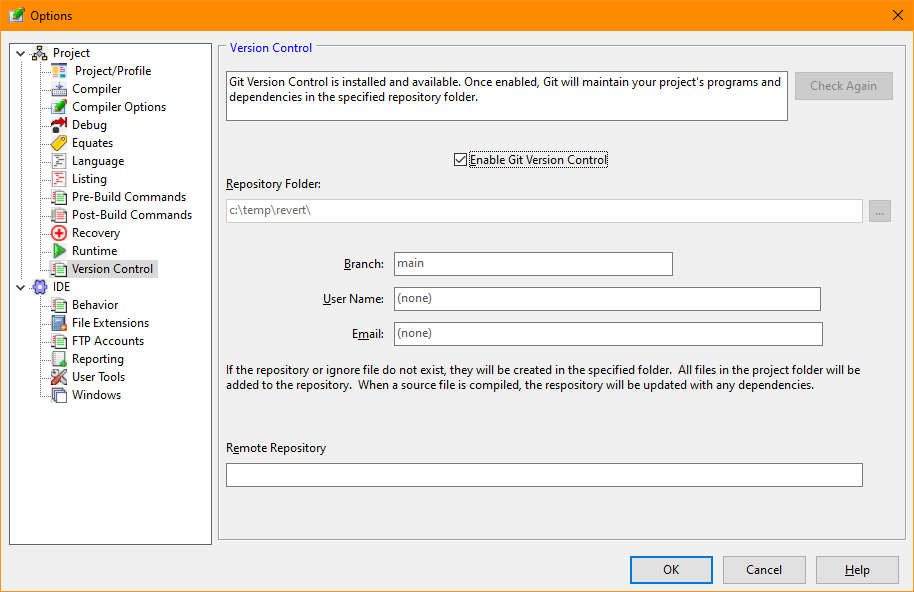
Note that the repositiory folder is assigned to the project's source folder and the branch name defaults to "main".
5. If you wish to change the default branch name, you may enter it at this point. Though not required, it is recommended that you also enter a user name and email address. The fields are more important when multiple users will access the repository or repository changes will be uploaded to a remote repository.
6. The Remote Repository field should remain empty until the local repository has been created. Once that is complete, you should update the field with a URL or link value that will server as the destination of Git Push and Pull commands.
7. Clicking OK will begin the initialization process that includes:
A. The intialization of the Git folder (.git) in the Repository Folder.
B. The registration of the user name and email address within the Git configuration.
C. The creation of a default Git ignore file if one doesn't already exist.
D. The addition of all files in the project's source folder.
E. An initial commit of the above changes.
8. Once Version Control is initialized, the Changes tab in the Project window will be empty and the History tab will show the initial commit. You may expand the History tab entry to view the changes that have been applied.
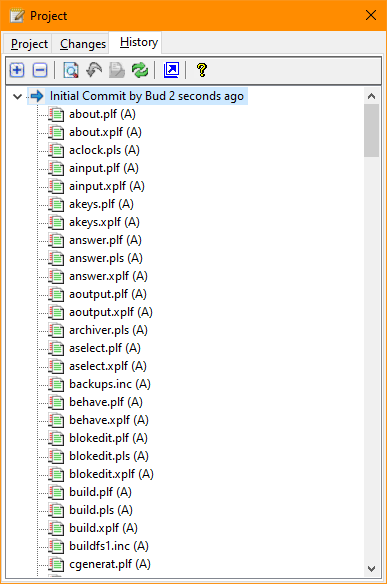
The "(A)" indicates that the file was simply added to the repository.
9. Version Control is now operational for the project
The Git Ignore File
During the initialzation process, a default ".gitignore" file is created if one does not exist. This file defines what files found in your source folder should not be managed by Version Control. These excluded files are typically files that can easily be generated such as PL/B object files, debugging files, and index files. You may also wish to exclude various data files that are used for testing. The ignore file is a text file that you can view or edit from the Tools/Git submenu or by using any text editor. By default it contains:
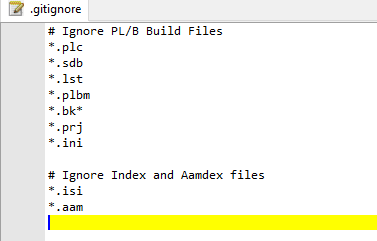
The file simply contains file specifications and comments. A complete description of the ignore file may be found at https://git-scm.com/docs/gitignore.
Working with Git
Once your project has enabled Git, you will notice that as files are created in the source folder and are not excluded by the ignore file, they will appear on the Changes tab with the Add indicator (A). Source files that are modified and saved will appear with the Modification indicator (M). Any files under version control that are removed from the source folder will appear with the Deleted indicator (D).

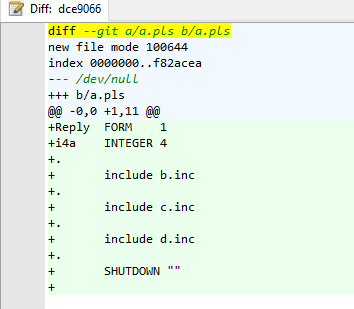
Double-clicking an entry or right clicking and selecting View Changes for Modification entries will produce a screen showing the changes made:
Committing the Changes
When your project changes are tested and complete, the final step in the Git cycle is to update the repository with the affected files. This is done by using the Commit area at the bottom of the Changes panel. Enter a brief summary of the changes and optionally add a longer description if desired, and click the Commit button:
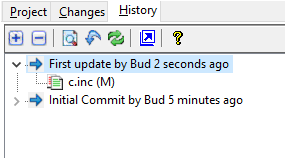
After committing, the Changes panel will once again be empty as all changes have been applied. The History panel will be updated to show your first update was applied:
Rolling Back the Changes
Should you decide to restore your project to a previous commit point in your History list, you can use Git's Rollbackt feature. The button with a down pointing blue arrow in the toolbar on the History panel will perform the action. After clicking the button your History panel will appear as follows:
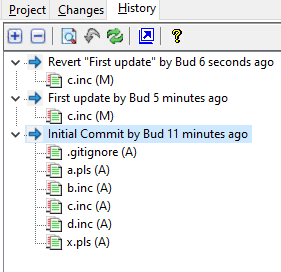


 |