Print Setup (File menu)
Provides a list of installed printers, sets the default printer, and provides access to other printing
options for the printer you select.
Before you may print for the first time, you must:
Connect the printer to your computer or a
network by using the instructions in your printer manual.
Install a printer driver by using Windows Setup
or the Windows Control Panel. For more information, see your Windows documentation.
Select the printer you will use in the Print
Setup dialog box.
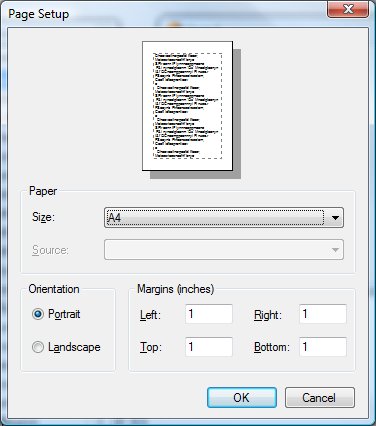
Print Setup Dialog Items
-
Default Printer
-
Displays the name of the default printer and shows the printer connection.
-
Printers
-
Select the printer you want to use; Word lists only printers installed by using either Windows Setup or
the Windows Control Panel. For information about installing printers, see your Windows documentation.
-
Set As Default Printer
-
Changes the default printer that the form Designer uses to print forms. Select the printer you want to
use in the Printers list, and then choose this button.
-
Options
-
Controls printer settings for the printer you select in the Printers list. The available options vary
depending on the printer driver.
-
To get Help for the selected printer, choose the Options button and then choose the Help button.
-
Network
-
Connects your computer to a network printer. The Network button is available only if your computer is
connected to a network. To get Help on network printers, choose the Network button, and then choose the
Help button.
Note: When you finish getting help on printer options or network printers, to get help on the Designer,
choose the Back button at the top of the Help window.
See also: ProgrammingĀEnvironment


