The Data Panel
The Data panel allows browsing of table data, addition of new data, and modification or deletion of existing data. Facilities exist to locate and isolate rows within the table. Sorting of the column data is also available.
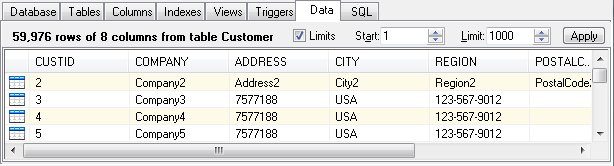
By default, DBExplorer provides a view of the first one thousand rows in the table. To remove this restriction and display all the rows, clear the Limits checkbox. Additionally, you may alter the starting row number and the limit of rows to display to view other data within the table. After making changes to these options, click the Apply button to refresh the data based on the new settings.
To sort the data within a column, click on the column header. The first click specifies that the column is to be sorted ascending. A second click toggles the sort to descending. A third click clears the sort indicator. Note that the column sort order is defined by the order in which the column sort sequence is define. Up to nine columns may be sorted at one time. Once the column sort parameters have been set, click the Apply button to sort the data.
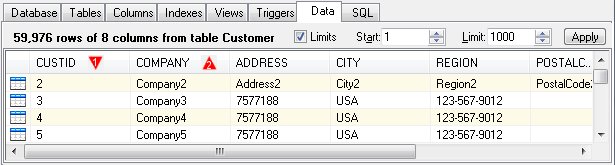
In this example, the custid column is sorted first in ascending order and the company column is sorted second in descending order.
Add New Rows
To add a new row of data, select Add Row from the shortcut menu. A new row will be added to the screen. The row icon will include a green plus (+) sign to indicate the row has not been committed to disk. As you enter values for the columns, DBExplorer will attempt to insert the row. Table constraints such as required fields may cause the insert to fail and thus the green plus sign will continue to be displayed. As soon as the data is actually inserted into the table, the row icon will revert to its normal appearance without the green plus sign.
Updating Existing Fields
To update a field within a particular row, right click on the field and select Edit Data. You may then enter the new value. Moving the focus off the field, results in the field being updated in the table.
Deleting Rows
To remove data from a table, select the rows in the Data panel and click "Delete" from the Edit or shortcut menu.
Exporting Data
To export the selected rows from a table, select the rows in the Data panel and click "Export" from the Table or shortcut menu.


 |